There is a commmon fear in the back of a crafter's mind; What if it breaks? Is the glue going to hold? What if they drop it? There's no certain answer, everyone treats their jewelry differently, there's no way you can know what the buyer is going to do with it. Once it's out of your hands, it's quite literally that; out of your hands.
There are countless jewelry crafting techniques out there. But personally I use an adhesive called E6000, that you can get at most hobby stores. Some people fear that this technique of gluing won't hold as strongly as a technique such as soldering or welding.
I once asked a professional with much more experience than myself, and she told me that she'd had more people tell her that their soldered jewelry broke than their jewelry adhered with E6000.
I have complete faith in this technique. I've made mistakes, or changed a design after it was together, and had to pry the project apart with two pairs of pliers and occasionally with the help of an exacto knife, to get the pieces apart after the glue had dried.
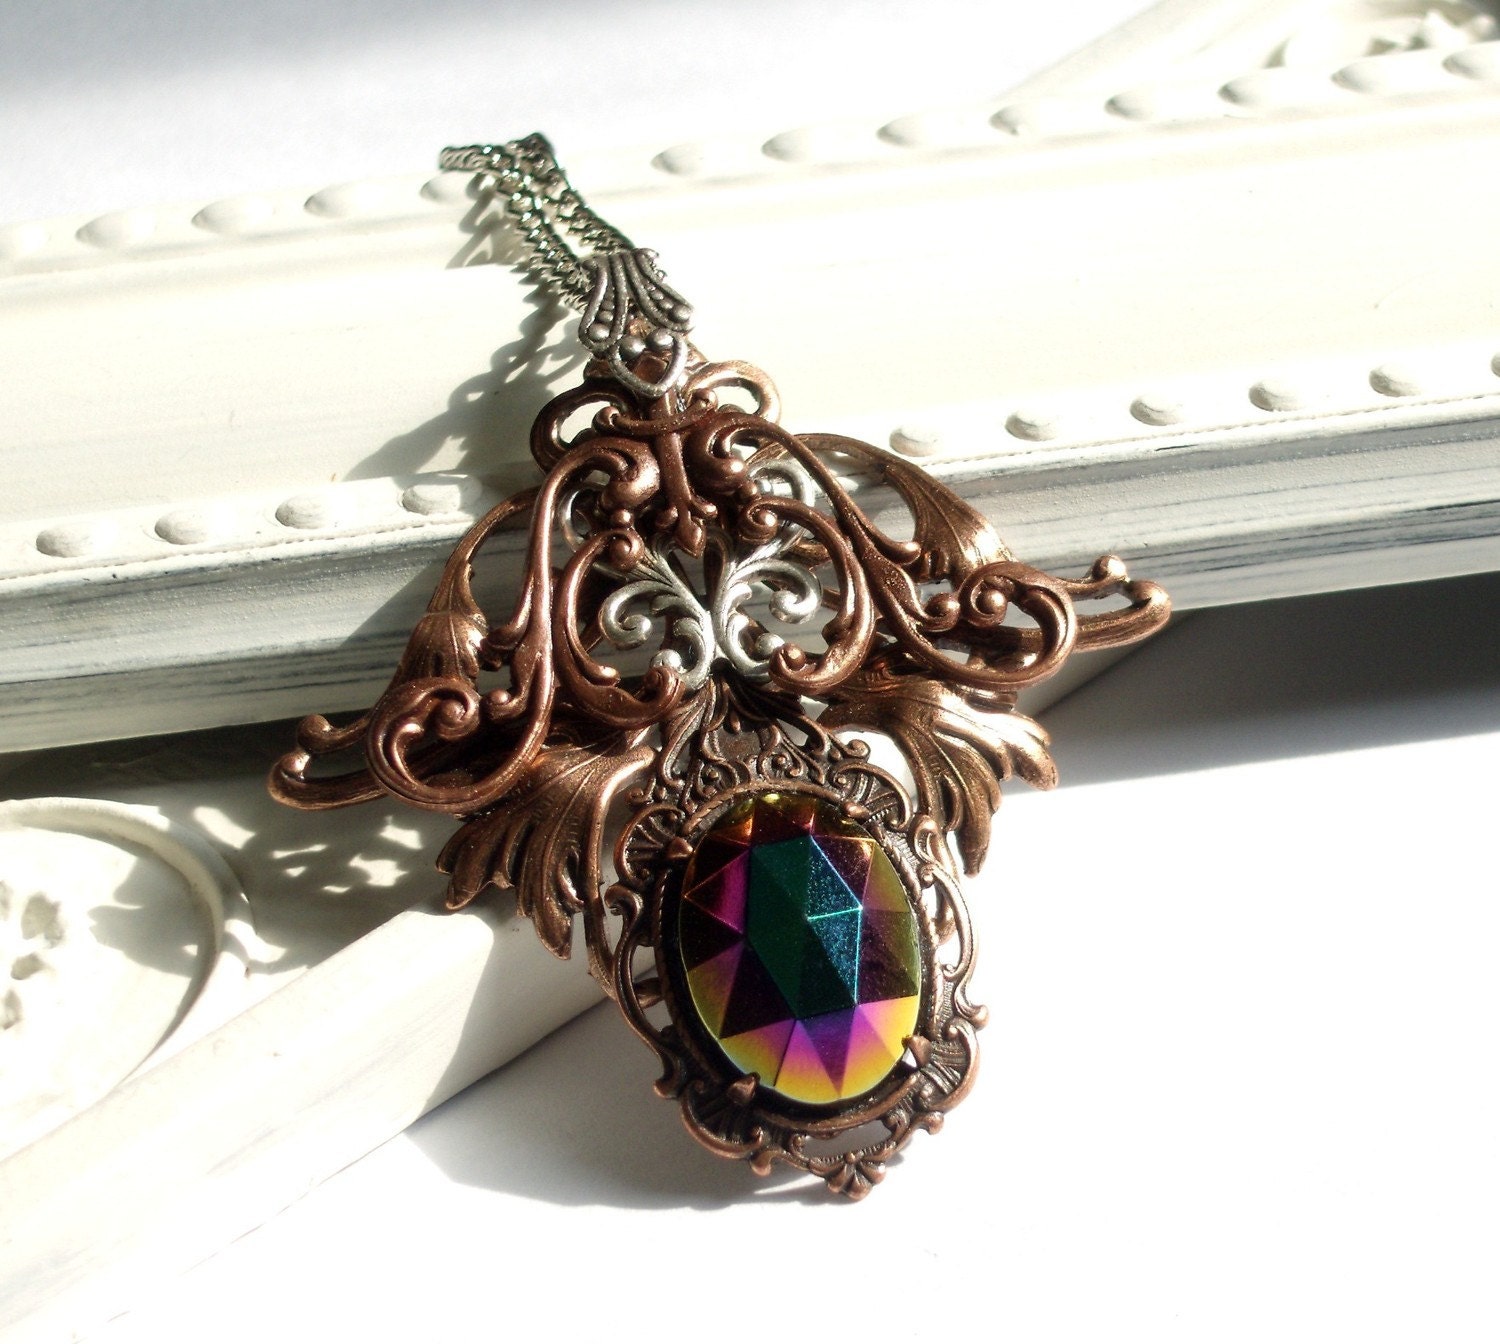
But I believe in order for the glue to do it's job properly, there needs to be a good amount of contact between the glue and both pieces of material that you're gluing. Occasionally, a design I'm in love with just doesn't have that. For example, my first image.
- This necklace has little leafy filigree sticking out of the top. These pieces are tiny, and the way they're glued onto the main structure doesn't allow for a lot of contact between the two pieces. So in addition to gluing them to the main stamping, I've added a filigree to the back, which they are also glued to. Now that contact is twice as strong. When I add a piece to the back like this, I don't like to see it sticking out from the front. So for this particular piece, I've cut a few bits off of it so it can't be seen from the front.

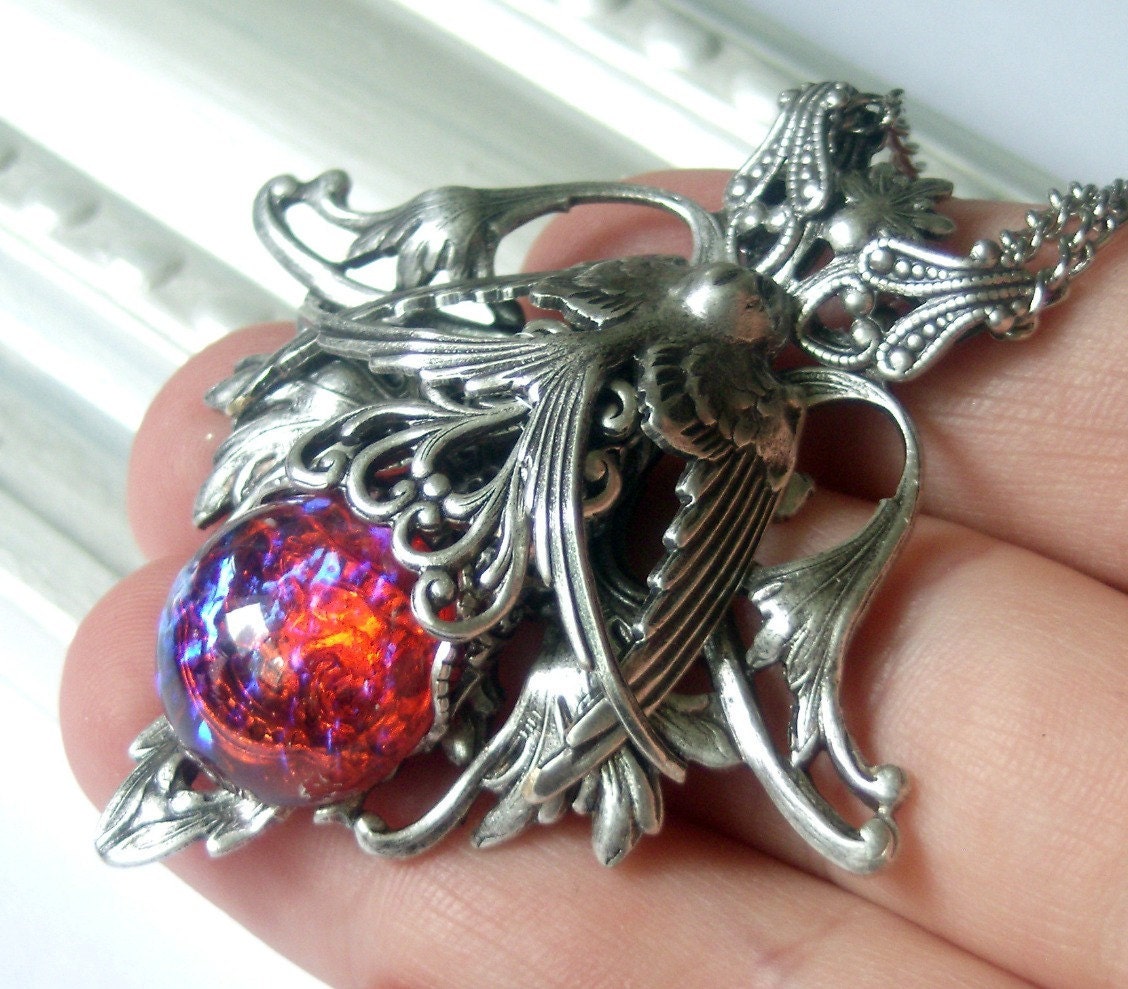
- The Night Flyer necklace was very similar, the stamping I have the bail attached to didn't have a lot of contact to be glued with, it's very open. So I've added a flat piece, which was intended to be a flat back setting, and I glued it to both the stamping and the wings. These settings come in all kinds of sizes, and also make wonderful foundations if you're layering a lot of things. Or if you've got a big mess in the back of a pendant, and you just want it hidden.

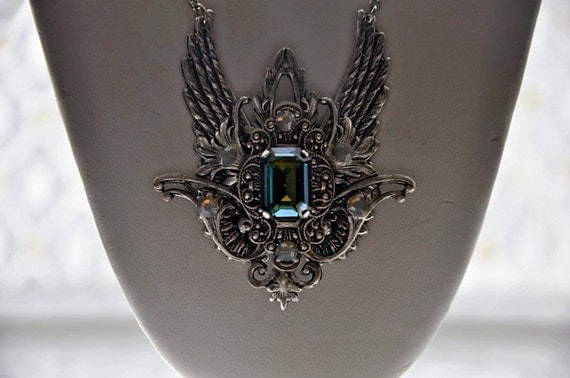
- For this little winged pendant, I only wanted the wings and the heart stamping. I didn't want a lot of layers, I didn't want to see anything behind the wings. But agin I was gluing to a very open stamping, and that leaves very little contact between pieces to glue with. So in addition to attaching the wings to the heart stamping, I added a small filigree to the back, which is glued to both wings, and can't be seen from the front of the pendant. So I got the look I wanted, and was able to enforce the structure.

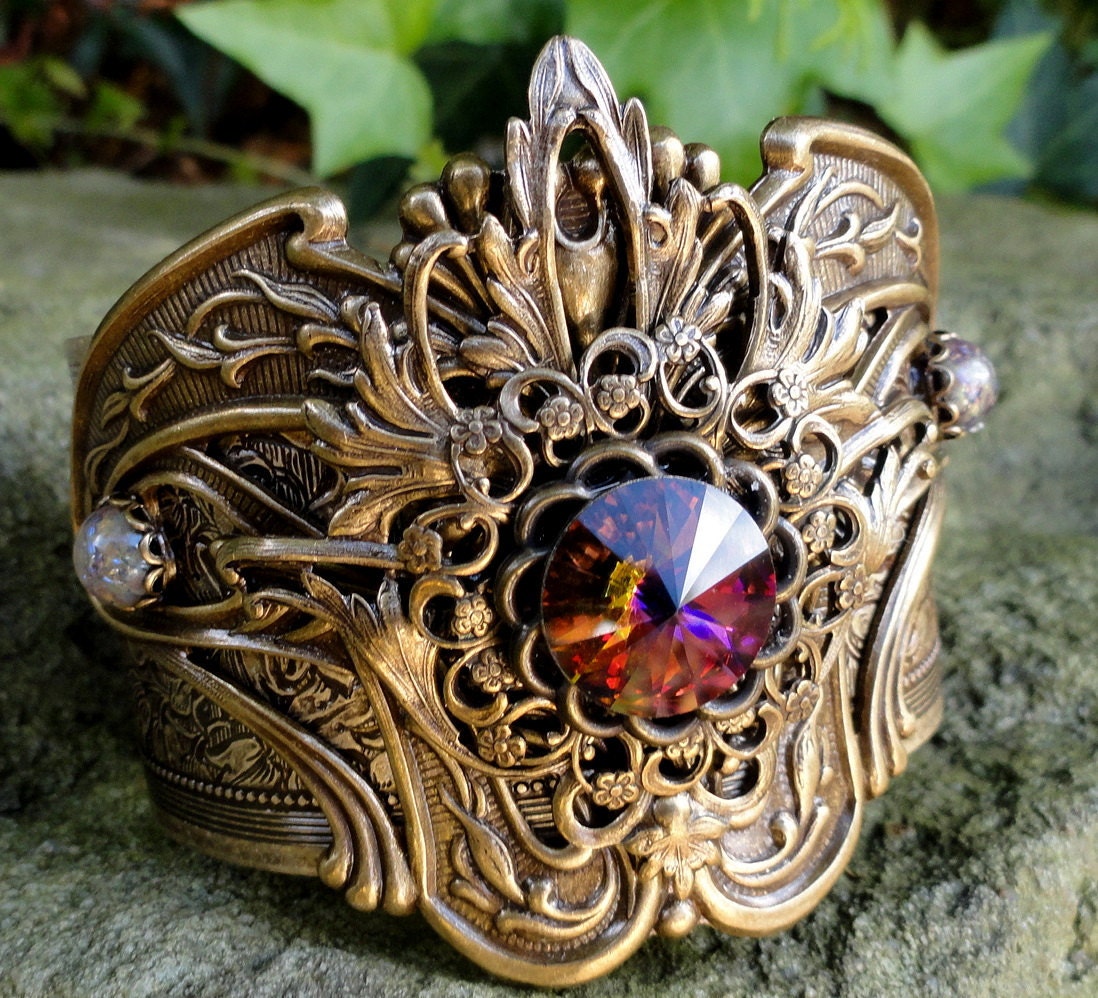
- Westminster is a very simple pendant. The foundation stamping had a hole that was perfect for the pointed back of the rivoli crystal I used. The structure of this pendant is very sound, and I have no doubts about any point of contact where I had glued it. I added this perfectly sized round filigree to the back, purely for cosmetic purposes. Since there was a hole in the back of the foundation stamping, you could see the jumbled mess of the back of the stone, hollow filigree, and some glue. I chose to cover it up.

Notice how each of the pieces I used on the backs are facing out. Stampings and filigree are lovely in the front, and hollow in the back. Sure, you don't see the back of the pendant while it's being worn, but that little attention to detail by putting the lovely side out, shows that you take pride in your work and you have care for your customers. And I take care not to let any of the back piece show from the front of the pendant, so there's no reason not to have it pretty side out.
And Susan of VintageJewelrySupplies.com once said that she had someone buy her work, for the simple reason that it was just as pretty from the back, as it was from the front. Sometimes it's the minor details that impress the most.
So there you have it. Adding to the the back of your work can reinforce the strength of your design, ease your concience, or simply add a finishing touch to impress.
Hope you learned something helpful!


 You have to look a little closer to find the stamping in
 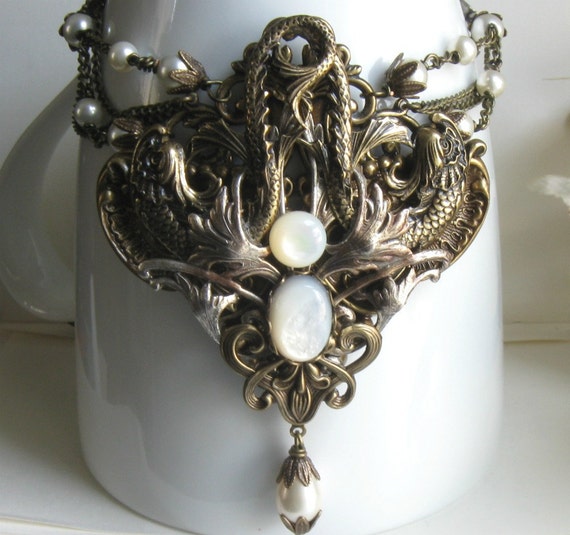 Another friend
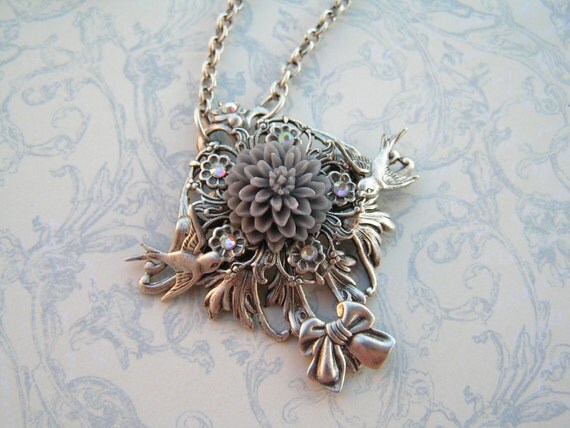
 My last example for today is a steampunk approach by
 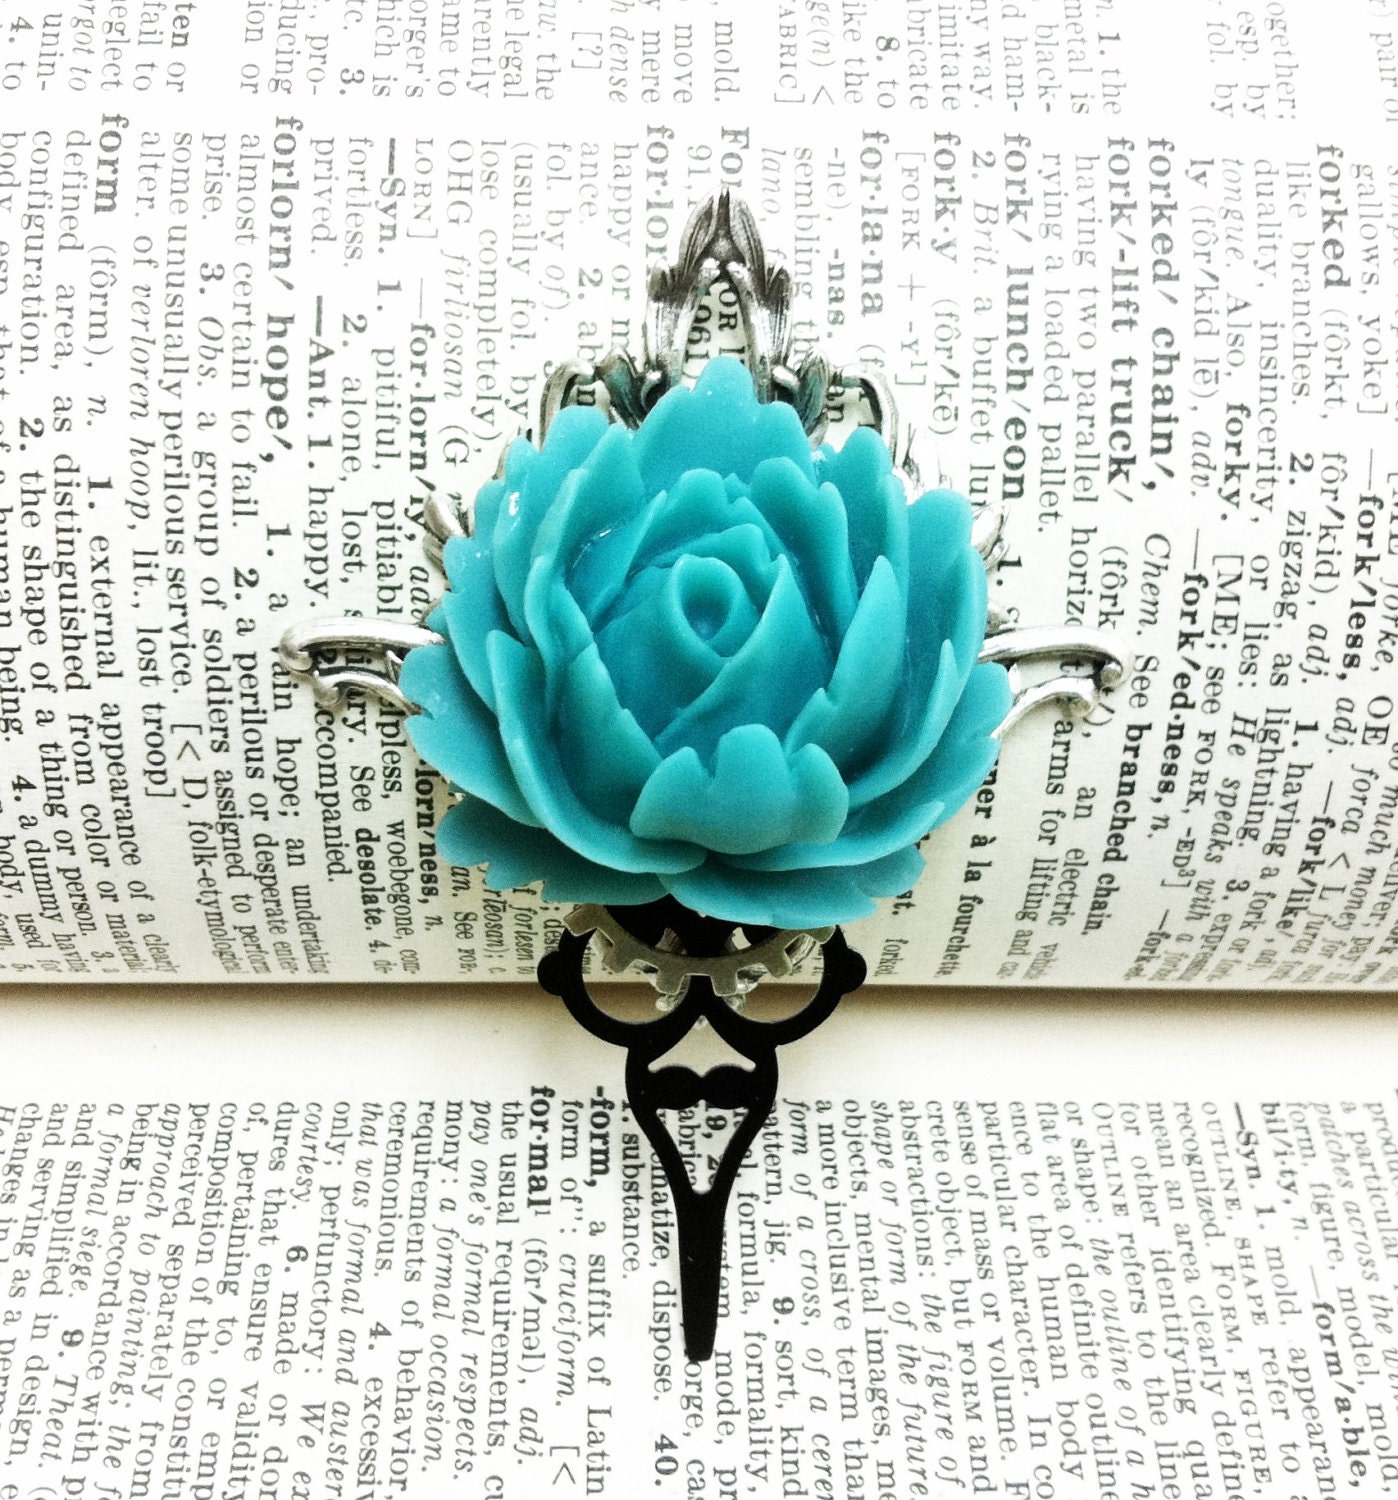 So there's a small look into the many many uses of a single stamping in jewelry crafting. There are several stampings that I use, that are frequently used in other artist's designs, that may end up in another post, another day. =)