Click on the pictures to see the details!
Most of the settings I use for my crystals and cabochons come with one, and sometimes two, loops on them. Though you can leave these on if you don't intend to use it to connect something, I personally think it looks cleaner if they're taken off. I don't just snip them off, I file down what I call the 'bur' that the metal leaves behind. It gives it a nice finishing touch, that most people won't even notice, but I know I did everything I could to make it perfect.
I use a set of files that are used for modeling gaming miniatures, but they're the same thing as jeweler's files. Mine came from a gaming store, but you can find them online at jewelry supply websites, like these ones from Fire Mountain Gems.

Getting rid of the loop
You can get rid of the loop any way you'd like, you can cut it with flush cutters, or you can bend it off. Using flat nose or chain nose pliers, you can bend the loop up and down a few times and the metal will break at the bend. I prefer this method, I get straighter, more flush cuts.
Note: I have an old beat up pair of flush cutters I use for things like this, so you don't risk knicking up your good wire cutters.
I'm starting with this oval setting, with one loop.

File the bur
I've taken the loop off, but you can see in the picture that there is a metal bur left behind. You can leave it like that, or for that polished look you can file it down. I use the flat file for this. I rarely ever use the round file, but it does come in handy occasionally.
In this next picture you can see how nice and smooth it gets when you file it. You can even get it so you'd never even know there was ever a loop there.

Note:Probably want to do the snipping and filing before the piece is used. I used this green gem, thinking I was going to use the loop and dangle something from the bottom. I decided I didn't like it, and proceeded to take the loop off. It's much harder to file it down once it's in a piece, even something as simple as this one. And you risk marring up the metals around it with your file. Always cut and file first, if you can.

This is just another example of what the bur can look like if it's not filed down once you remove it.

An example of how nice it can look finished.

Other reasons to dig out the files
A lot of the time, I disassemble filigree and stampings and only use the pieces I want. Any place you take the metal apart, there will be burs. Some of them can be pretty nasty, and can scratch skin and catch on clothes. I make sure all of the burs are filed down so it doesn't hurt the skin.
Note: Most of the metals I use have an oxidized finish, or a sterling finish. Any place you file will wear away the finish. The color underneath will show through, most of the time this will be the natural brass. (It's bright gold) You'll want to consider how this look will effect your piece. A lot of the time you can file it on the back and not so much on the front, or you can cover it up with other pieces of the necklace.
This isn't the greatest picture, but you can see the burs before, and the brass showing through after I filed it.

Some notes about filing metals -recap-
*When you file metals like these brass components, you'll get metal shavings, as fine as dust. You can see this metal dust on my fingers in some of the pictures. You can wear glasses, or a mask, if this concerns you. I am careful not to do it around my one year old son.
*Filing the metal will remove whatever finish is on it. The natural brass will show through, this is a bright gold, so make sure this doesn't ruin your design. A lot of the time, you can hide it, or if you have minimum filing to do, it might not be noticeable.
*Sometimes this type of thing can be rough on flush cutters, you can keep an old beat up pair around for these cases.
*Snip and file before construction, you'll thank yourself later.
*It's possible that the exposed brass from the filing, the raw brass with no finish, can turn skin green. I like to make sure that the part I file off isn't in direct contact with skin when it's worn.
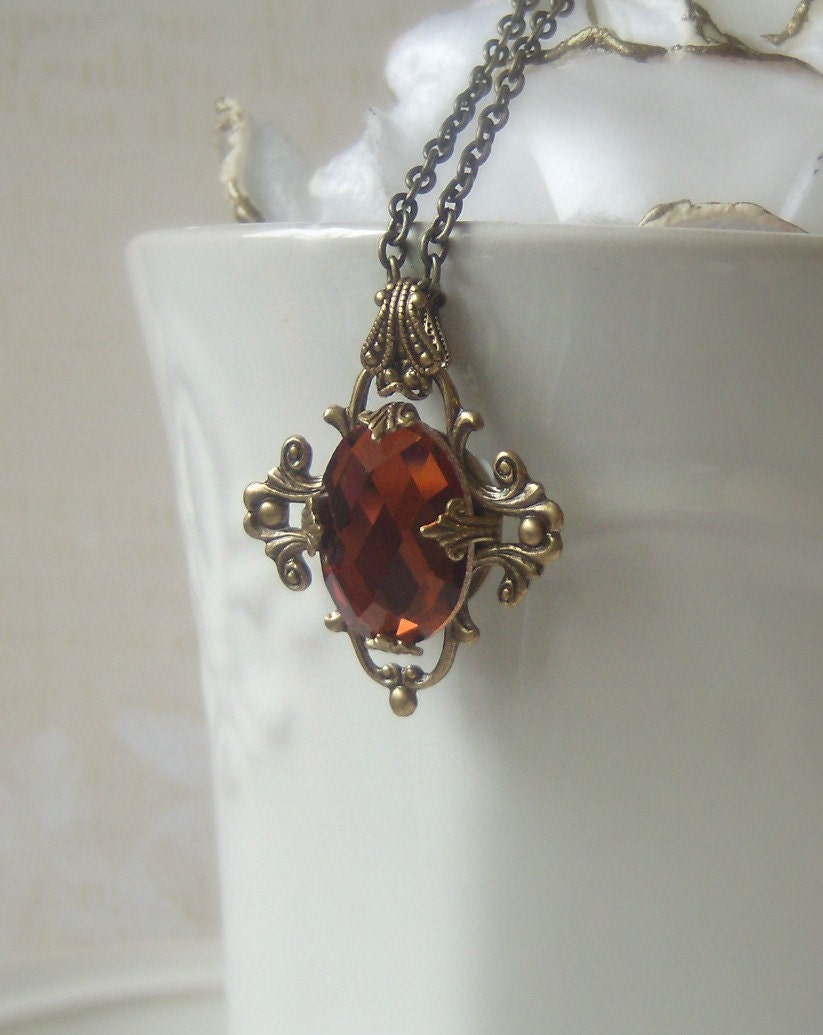
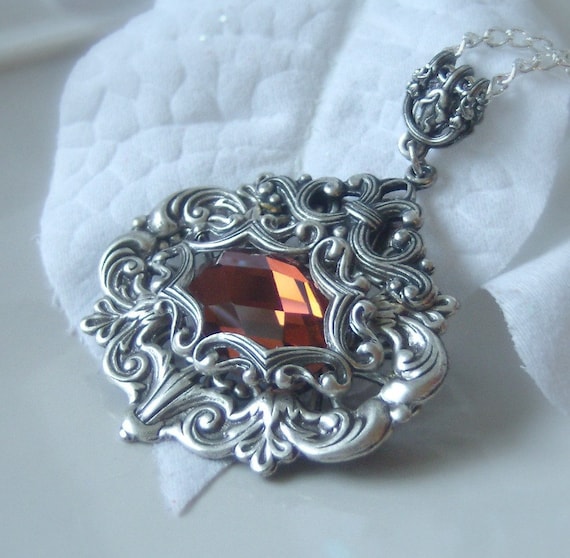
These are examples of some of the necklaces I've made in the past using these techniques, removing the loops.


All the settings and filigree used in this tutorial are from Vintage Jewelry Supplies.
Thanks for reading, I hope you learned something helpful!!!

2 comments:
Thank you...some very good information! I love your work.
Something you can do, to cover up where you had to file, is use enamel model paints. Just match the color to whatever the color was you filed away. Works beautifully on spots that DON'T receive much wear/handling while worn. It takes a little practice, but it's worth the little extra work and cost.
Leigh-AsItEverWas on facebook
Post a Comment